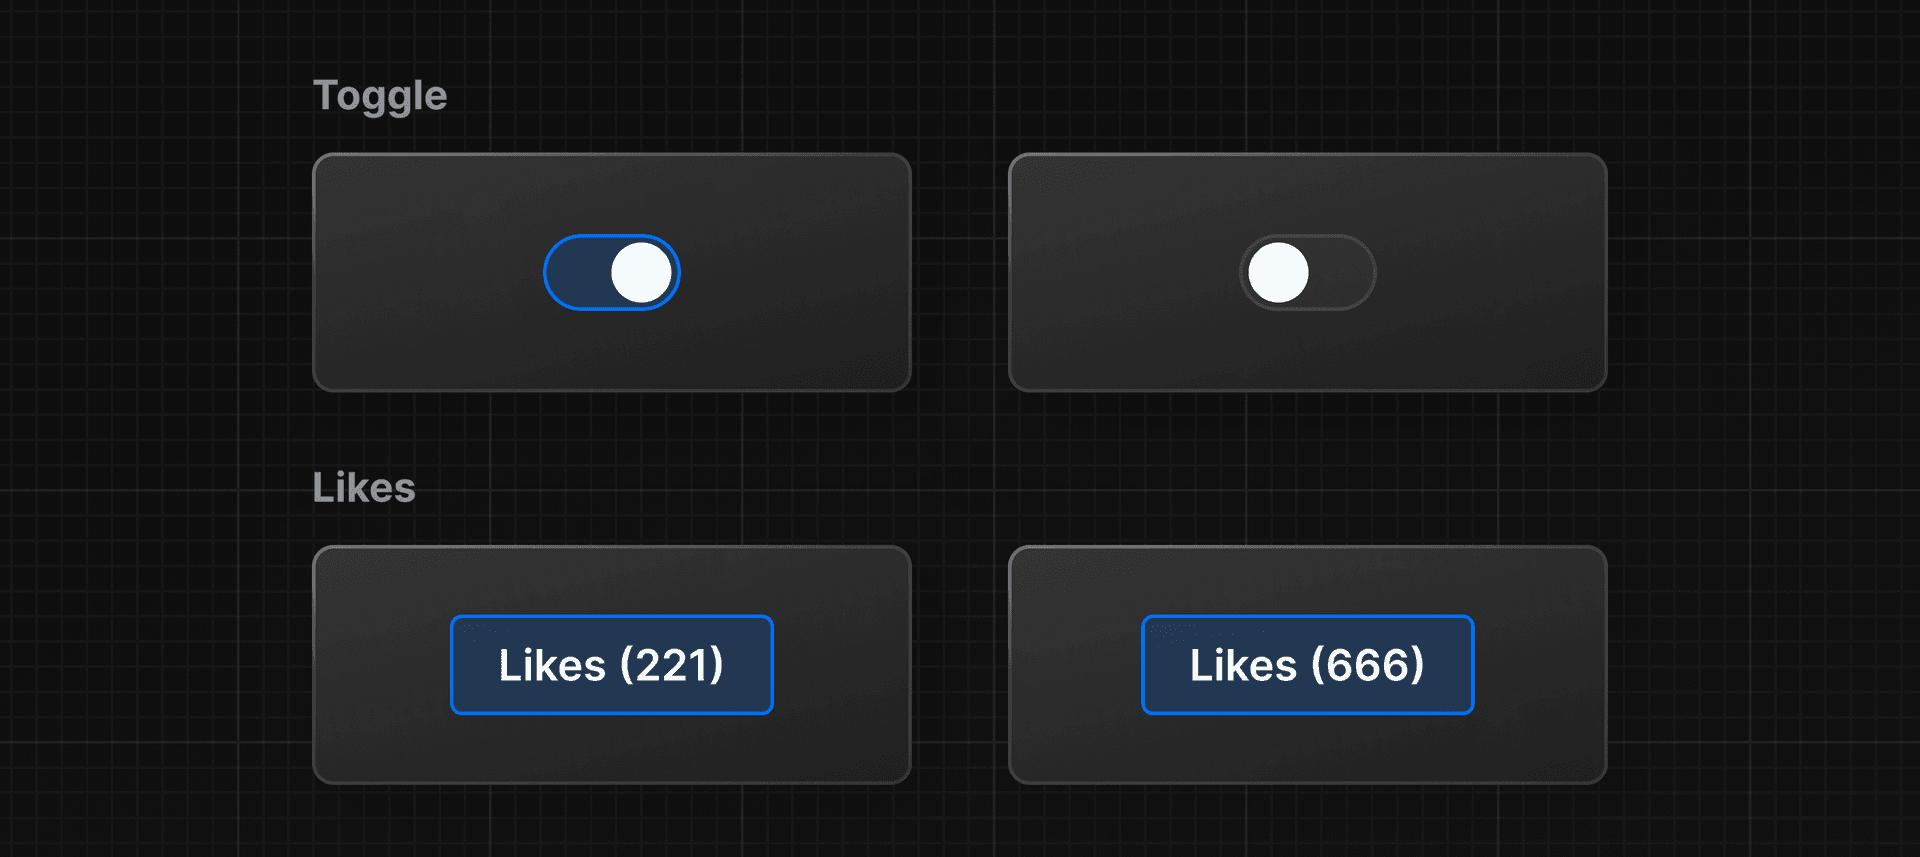
Let's explore how React helps us add interactivity with state and event handlers.
As an example, let's create a "Like" button inside your HomePage component.
First, add a button element inside the return() statement:
jsx
To make the button do something when clicked, you can use the onClick event:
jsx
In React, event names are camelCased. The onClick event is one of many
possible events you can use to respond to user interaction. For example, you
can use onChange for input fields or onSubmit for forms.
You can define a function to "handle" events whenever they are triggered.
Create a function before the return statement called handleClick():
jsx
Then, you can call the handleClick function when the onClick event is
triggered:
jsx
Try running this in your browser. Notice in your developer tools how the log output increases.
React has a set of functions called hooks. Hooks allow you to add additional logic such as state to your components. You can think of state as any information in your UI that changes over time, usually triggered by user interaction.

You can use state to store and increment the number of times a user has
clicked the "Like" button. In fact, the React hook used to manage state is
called: useState()
Add useState() to your project. It returns an array, and you can access and
use those array values inside your component using array destructuring :
jsx
The first item in the array is the state value, which you can name anything.
It's recommended to name it something descriptive:
jsx
The second item in the array is a function to update the value. You can name
the update function anything, but it's common to prefix it with set followed
by the name of the state variable you're updating:
jsx
You can also take the opportunity to add the initial value of your likes
state to 0:
jsx
Then, you can check the initial state is working by using the state variable inside your component.
jsx
Finally, you can call your state updater function, setLikes in your
HomePage component, let's add it inside the handleClick() function you
previously defined:
jsx
Clicking the button will now call the handleClick function, which calls the
setLikes state updater function with a single argument of the current number
of likes + 1.
Note : Unlike props which are passed to components as the first function parameter, the state is initiated and stored within a component. You can pass the state information to children components as props, but the logic for updating the state should be kept within the component where state was initially created.
This was only an introduction to state, and there's more you can learn about managing state and data flow in your React applications. To learn more, we recommend you go through the Adding Interactivity and Managing State sections in the React documentation.
Additional Resources:
Mark this chapter as finished to continue
Mark this chapter as finished to continue