In this chapter, we'll redesign our layout to include a sidebar with a chat list on the left and chat content as the main area. For now, the main content will remain empty as we focus on building the chat list functionality.
Need Help?
If you encounter any difficulties, you can always reference the complete code from this GitHub repository:
First, we need to install some shadcn components. Run this command in your terminal:
bash
If the CLI doesn't install icons automatically, run bun add lucide-react.
This creates new components in the components/ui folder. Feel free to explore them to see how they're built.
Now we need to remove Next.js example web page content. First let's move to app/page.tsx and remove everything and leave just simple div component:
typescript
This will be our chat content area in the future.
In Next.js, the layout file wraps all page content. Let's add the shadcn sidebar here to display our list of chats.
Open app/layout.tsx and replace its content with:
typescript
You'll see an error about a missing @/components/ChatSidebar file. Let's create it!
Create a new file ChatSidebar.tsx in the components/ folder with the following content:
typescript
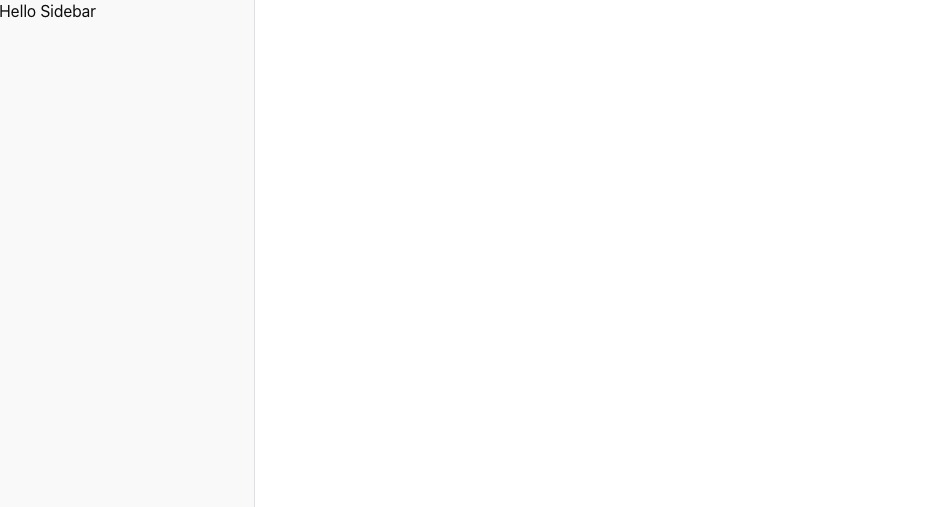
Great! Now we have the backbone of our application. In your browser, you should see something like this:
Next, we'll create the code for storing chats. First, we need to define a Chat type. Create a new folder and file at types/chat.ts with this content:
types/chat.tstypescript
Next, we'll add a simple in-memory storage with database functions. Create db/chat.ts with the following content:
db/chat.tstypescript
We've created two functions here:
getChats - Retrieves chats from the local chats array. Note that we're using use cache and cacheTag directives. This makes any component using it a cached static component.createChat - Creates a new chat. Note that at the end we call updateTag, which invalidates the cached page and triggers a re-fetch.Also notice import 'server-only'; at the top. This prevents these functions from being used in client components, ensuring we don't accidentally call them from the browser.
Now we have database-related code, let's add some actions! Create a folder actions and a file actions/chat.ts inside it with this content:
actions/chat.tstypescript
The first thing you'll notice is the use server directive. This tells Next.js that the code in this file contains Server Functions (also known as Server Actions). When Next.js sees this, it automatically creates API endpoints under the hood that client components can call simply by invoking createChatAction. Magic!
Now we have all the infrastructure needed to connect it to our components. Go to app/layout.tsx and add getChats as follows:
app/layout.tsxtypescript
As you can see, we made several changes:
RootLayout an async server component (required to use await getChats())getChats() call to fetch chatschats data to ChatSidebarIs it safe to call
getChats()directly in a component?You might be wondering whether calling
getChats(), which is a database function, directly in a component is safe. What if it were called on the client side? Wouldn't that make it vulnerable by exposing private data?The answer is no, it's completely safe! Since
RootLayoutis a Server Component,getChats()will only be called on the server. The results, along with the component JSX, are then passed to the client. No database credentials or sensitive logic ever reach the browser. Pure magic! ✨
Now let's update components/ChatSidebar.tsx to display the chats:
components/ChatSidebar.tsxtypescript
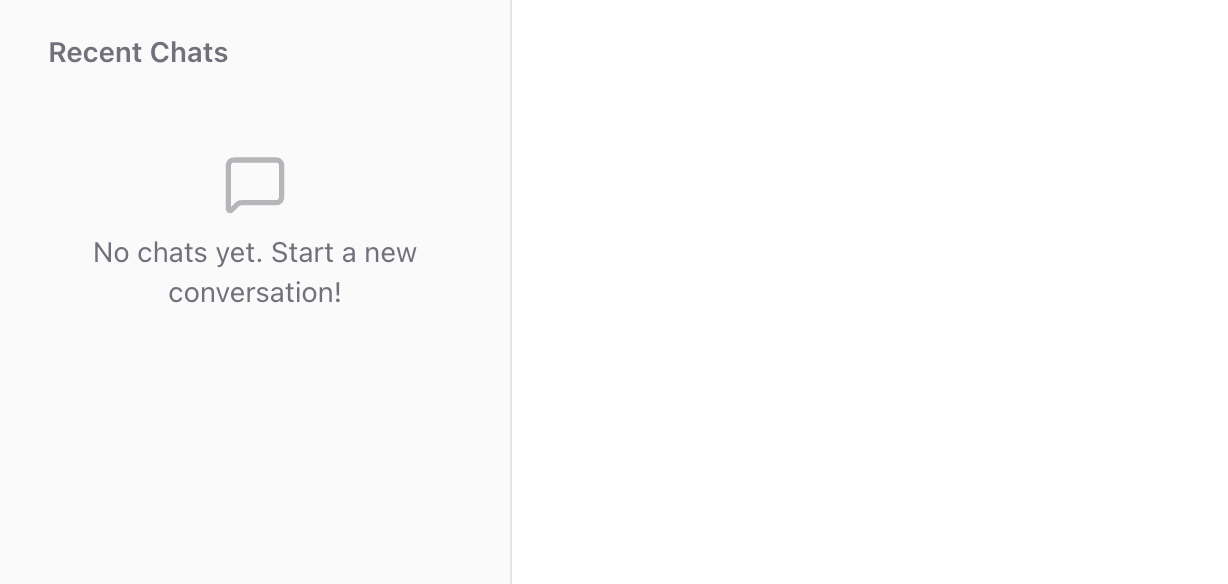
What we've done here is iterate over the received chats and create an item for each one. If there are no chats, we display a "no chats" message.
You should see something like this:
Now let's add the ability to create new chats! Add a new section at the start of the <SidebarContent> component:
components/ChatSidebar.tsxtypescript
What did we do here? First, we imported createChatAction and set it as the action for the <form> component. Inside the form, there's a New Chat button that triggers form submission and calls our Server Action.
What is
.bind()and what does it do?Here's some JavaScript magic:
.bind()creates a new function with a specifiedthiscontext (first parameter) and pre-filled arguments. In this case, we're adding the'New Chat'title argument to the action without creating an arrow function.
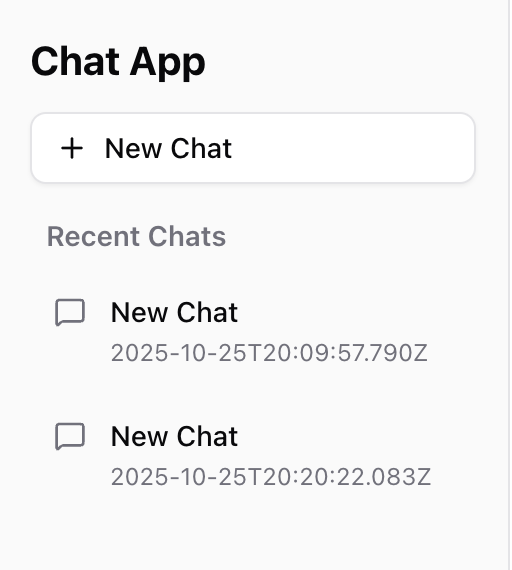
Now you can test it! Click the New Chat button in your browser. After a few clicks, you should see a similar view:
Now we can create and view chats, but there are some problems with our current approach:
Why does this happen? It's because of how Next.js is built. All Next.js server functions are designed to run in a serverless environment. This means each backend call runs on a separate instance, so the chats variable gets reset to an empty array on each new instance.
We need a better approach. Normally you would use a database or cloud storage, but for this course we'll store data locally as a file. This will persist through refreshes and across server function calls.
Let's get started! First, we need to create utilities for file storage. Create lib/fileUtils.ts with the following content:
lib/fileUtils.tstypescript
This utility provides two functions:
readContent - Reads and parses JSON data from a file, creating the directory if it doesn't existwriteContent - Writes data to a file as formatted JSONNext, we need to update our db/chat.ts functions to use these utilities:
db/chat.tstypescript
Key changes we made:
chats arraygetChats() now reads from chats.json filecreateChat() reads existing chats, generates a proper ID (using the maximum existing ID + 1), adds the new chat, and writes back to the fileNow when you add chats and refresh the page, they should persist. Great work!
Great! We now have our first working feature. Users can create and view chat objects. Remember, this isn't just frontend code - we already have a backend with server components, server actions, and caching!
Mark this chapter as finished to continue
Mark this chapter as finished to continue