In this chapter, we'll create an AI chat where you can have real conversations with an AI assistant!
Need Help?
If you encounter any difficulties, you can always reference the complete code from this GitHub repository:
First, we need to install Vercel's AI SDK for connecting with AI models:
bash
We've installed:
ai - Core AI SDK JavaScript library@ai-sdk/react - React hooks and utilities for chat functionality@ai-sdk/openai - OpenAI provider for the AI SDKzod - TypeScript schema validation libraryWe need an OpenAI API key for our chat to work. Here's how to get one:
.env in your project root and add:
text
Voilà, everything is set!
Let's create a new page to display individual chat conversations. In your app folder, create the path app/chat/[chatId]/page.tsx:
app/chat/[chatId]/page.tsxtypescript
What is Suspense?
Suspense is a React component that displays a fallback UI while its children are loading. This allows us to show an instant loading state (like a skeleton) and then seamlessly switch to the actual chat view once the data is ready.
Now we have the Next.js page, but we need to implement the ChatView component. Create components/ChatView.tsx:
components/ChatView.tsxtypescript
Let's break down what's happening in this component:
'use client' directive: This tells Next.js that this component should run on the client side. It's required because we're using React hooks (useState, useChat) and handling user interactions. Server components can't use hooks or browser APIs, so we need to mark this as a client component.
use() hook: This is a new React hook that unwraps a Promise. It allows us to use async data in a synchronous way within our component. When the promise resolves, the component re-renders with the data.
useChat() hook: This is from the AI SDK and provides everything we need for chat functionality:
messages: Array of all messages in the conversationsendMessage: Function to send a new message to the AIstatus: Current state of the chat ('ready', 'loading', etc.)id: Chat identifier for managing multiple conversationstransport: Configures how messages are sent to your API endpointThe hook handles all the complexity of managing message state, streaming responses, and API communication for us.
Now we need a way to open individual chats. Update components/ChatSidebar.tsx to make chat items clickable:
components/ChatSidebar.tsxtypescript
We've replaced the <button> with Next.js's <Link> component to enable navigation to individual chat pages. The Link component provides client-side navigation, making the app feel faster and more responsive.
Now we have all the UI components we need. Let's dive into the backend and API!
First, we need a function in db/chat.ts to fetch a chat by ID. This will be used in our API to verify the chat exists.
Add this code at the end of db/chat.ts:
db/chat.tstypescript
Our AI SDK will communicate with /api/chat/[chatId], so let's create that endpoint. Create the file app/api/chat/[chatId]/route.ts:
app/api/chat/[chatId]/route.tstypescript
Let's break down what's happening in this API route:
maxDuration = 30: This allows streaming responses for up to 30 seconds. AI responses can take time, especially for longer answers, so we need to extend the default timeout.
POST handler: This function handles incoming chat messages:
chatId from the URLgetChat()streamText(): This is the core AI SDK function that:
toUIMessageStreamResponse(): Converts the AI stream into a format that the useChat hook can understand and display in real-time.
When you send a message to an AI like ChatGPT, several things happen:
System Message: This sets the AI's behavior and personality (e.g., "You are a helpful assistant"). It's like giving instructions to the AI about how it should act.
Message History: The AI receives the entire conversation history, so it has context for your questions.
Prompt: Your actual message or question to the AI.
Streaming Response: Instead of waiting for the complete response, the AI streams text back token by token (word by word), making the experience feel more natural and responsive.
Conversation Context: Each message builds on the previous ones, allowing for coherent multi-turn conversations.
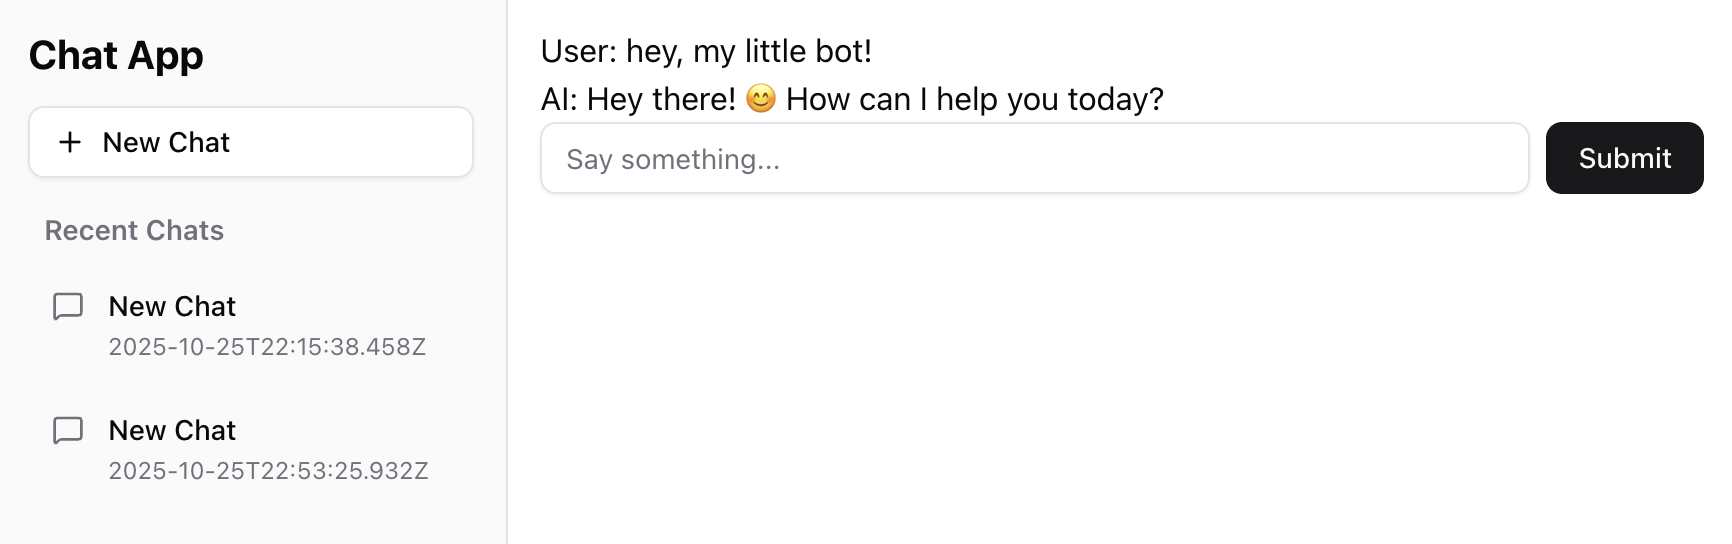
You're ready to test! Create a new chat, open it, and start chatting with the AI. You should see something like this:
Congratulations! You now have a fully functional AI chat application built with Next.js. You're using cached components, static views where appropriate, persistent data storage, and real AI conversations. This is a complete full-stack application!
Mark this chapter as finished to continue
Mark this chapter as finished to continue