In this chapter, we'll create an AI chat where you can have real conversations with an AI assistant!
Need Help?
If you encounter any difficulties, you can always reference the complete code from this GitHub repository:
First, we need to install Vercel's AI SDK for connecting with AI models:
bash
We've installed:
ai - Core AI SDK JavaScript library@ai-sdk/react - React hooks and utilities for chat functionality@ai-sdk/openai - OpenAI provider for the AI SDKzod - TypeScript schema validation libraryWe need an OpenAI API key for our chat to work. Here's how to get one:
.env in your project root and add:
text
Voilà, everything is set!
Let's create a new page to display individual chat conversations. In your src/routes folder, create the path src/routes/chat/$chatId.tsx:
Have you noticed
Did you notice that Tanstack has a different way of writing path params? Here we are using
$chatIdinstead of[chatId]in Next.js. In addition we are allowed to create file route$chatId.tsxwithout need of creating new folder for it - in Next.js we needed to do[chatId]/page.tsx.
src/routes/chat/$chatId.tsxtypescript
Issues with TypeScript?
Remember that all routes in Tanstack Start are typed. To do this Tanstack generates
routeTree.gen.ts, which is being generated when starting an app. So if you have any issues about notcreateFileRoutepath then try to restart app withbun dev
Different than in Next.js we have created whole page in one component. The most important thing is what we are export, meaning const Route which value is result of calling function createFileRoute. In that function, similarly to what we had with createRootRoute we are specifying all configuration for that route. In our example we have:
component - a react component that will be used for showing a content for that pagependingComponent - a loader component that will be shown while waiting for main componentloader - we already know that - it is for fetching data from a backendLet's break down what's happening inside component itself:
useChat() hook: This is from the AI SDK and provides everything we need for chat functionality:
messages: Array of all messages in the conversationsendMessage: Function to send a new message to the AIstatus: Current state of the chat ('ready', 'loading', etc.)id: Chat identifier for managing multiple conversationstransport: Configures how messages are sent to your API endpointThe hook handles all the complexity of managing message state, streaming responses, and API communication for us.
Now we need a way to open individual chats. Update src/components/ChatSidebar.tsx to make chat items clickable:
src/components/ChatSidebar.tsxtypescript
We've replaced a path of <Link> component from / to /chat/$chatId and added params to that component. As you see all params, routes are strictly typed in Tanstack Start. No possible to make mistake here :)
Now we have all the UI components we need. Let's dive into the backend and API!
First, we need a function in src/db/chat.ts to fetch a chat by ID. This will be used in our API to verify the chat exists.
Add this code at the end of src/db/chat.ts:
src/db/chat.tstypescript
Our AI SDK will communicate with /api/chat/$chatId, so let's create that endpoint. Create the file src/routes/api/chat.[chatId].ts:
src/routes/api/chat.[chatId].tstypescript
Did you notice?
Look how we named a route file. Instead of creating folders we created a file with dots. Tanstack Start allows much more flexibility when creating route paths.
Let's break down what's happening in this API route:
createFileRoute: We are still using the same function as we did while creating normal page, you know this already! Such route is name Server Route.
server.handlers.POST: This function handles incoming chat messages:
chatId from the URL by params fieldgetChatById()streamText(): This is the core AI SDK function that:
toUIMessageStreamResponse(): Converts the AI stream into a format that the useChat hook can understand and display in real-time.
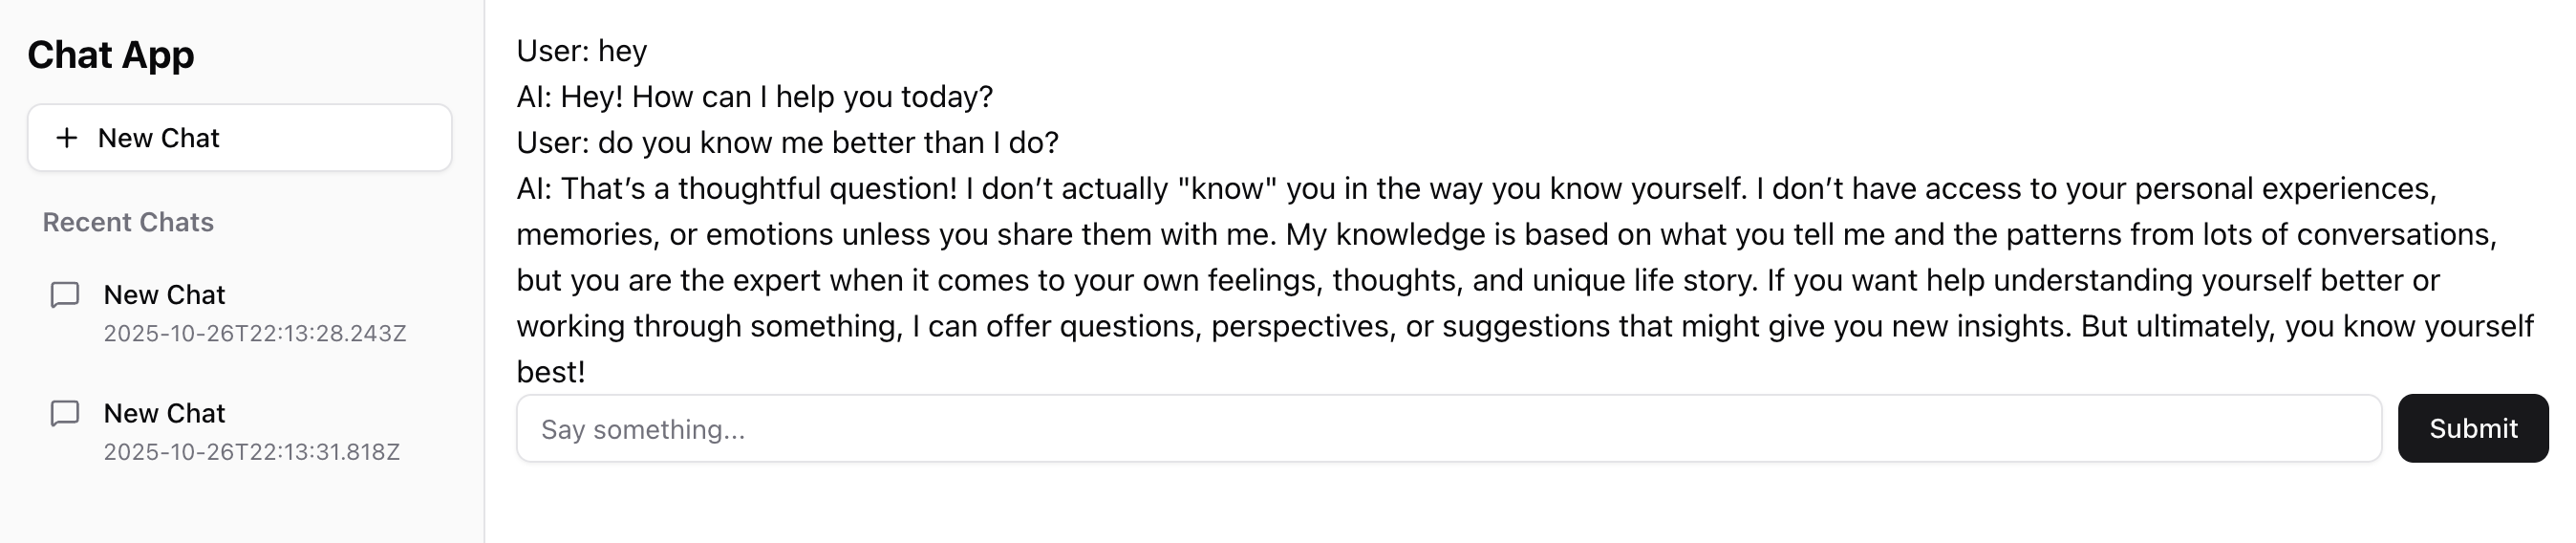
You're ready to test! Create a new chat, open it, and start chatting with the AI. You should see something like this:
Congratulations! You now have a fully functional AI chat application built with Tanstack Start. You're using server functions, server routes, static views, persistent data storage, and real AI conversations. This is a complete full-stack application!
Mark this chapter as finished to continue
Mark this chapter as finished to continue